The Problem
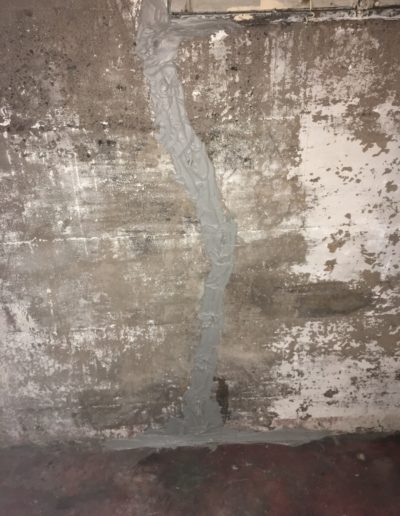
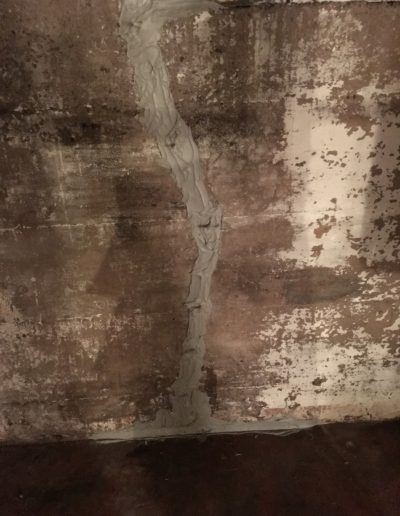
Now when I say Foundation wall cracks they are not that wide, long yes, but wide no. Of the 3 main cracks, none were wider that 4 millimeters at a given point. These are also vertical cracks. Initially most would think to go grab some hydraulic cement and pack it in there to let it do its thing. My issue is that that seems to be what was done the first time. Hydraulic Cement is pretty easy to distinguish because of its brittleness compared to the poured foundation and texture. What seems to have happened is the previous repair was done a long time ago. Long enough that the house has shifted enough to separate its once secure bond. This meant that I could either try and chisel out the old cement and grind the opening down to cram in another batch of cement or look for a more modern remedy.
The Solution
The Proceedure:
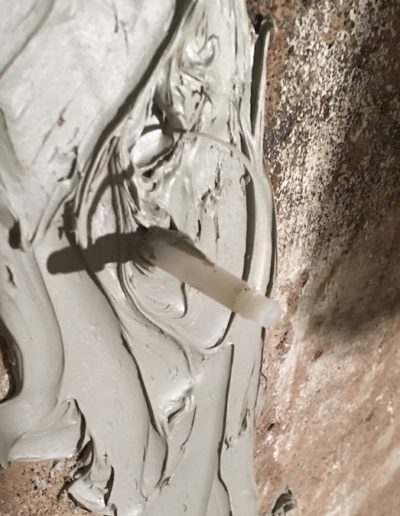
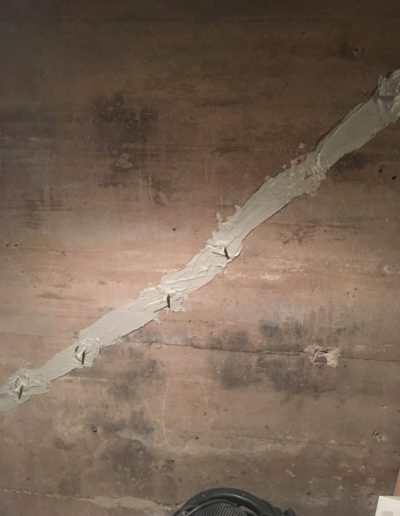
Adhere your injection port holes – putty the remaining crack liberally (Don’t forget the base crack when wall meets floor a good couple inches wide) Also seal off the exterior crack if it is visib le from outside.(injection will just flow right out otherwise) Inject you resin starting at the bottom – once resin appears in port above injection, cap off the one you are pumping through and start injecting in the next port above. Let injection cure for specified number of days – pry off the ports and sand down the putty until smooth with wall.
Tips:
Product Links:
Source Links:
- Radon Seal: Instructions website
- Radon Seal: Instructional Videos
- Project Cost: $280 (not including labor)
Disclaimer:
I am not a professional so replicate my methods at your own risk. Always consult your local code for county and state regulations. And always call a professional for anything you are uncomfortable with, it is safer and can actually save you money in some cases.
Disclosure: Some of the links in this article are affiliate links and we will earn a small commission through their use at absolutely no extra cost to you!
Thank You!
Related Posts:
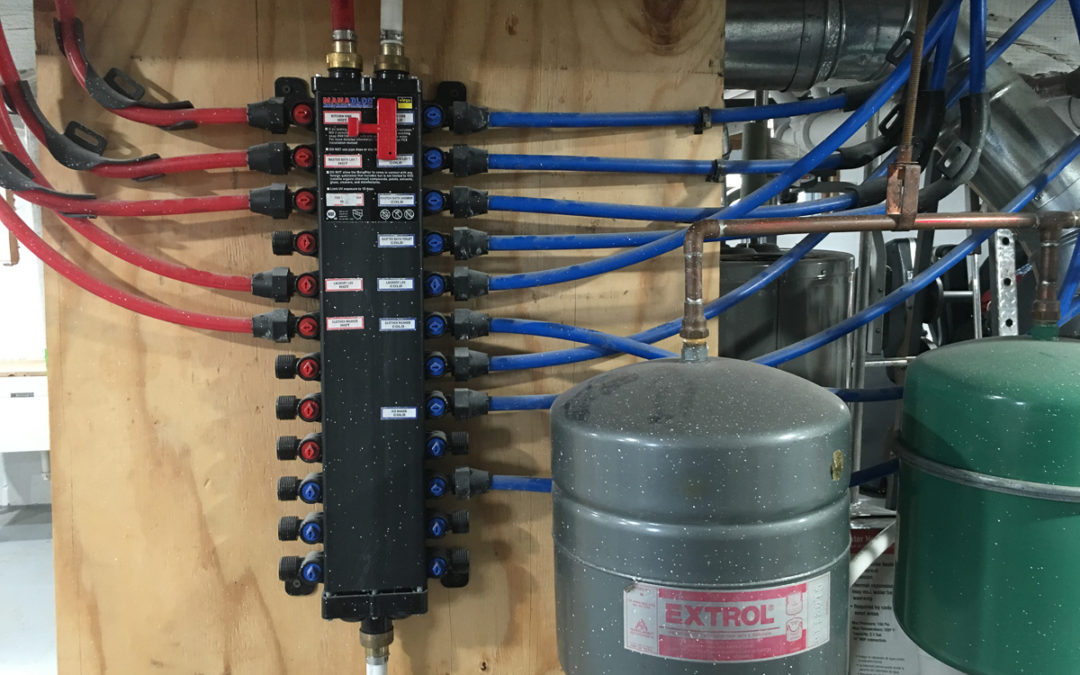
Upgrade Water Lines
Can you feel the pressure.Recap & ReassessmentIf you have been following this Renovation thread you may be laughing at the deviations I’ve been making from the initial goal of getting a new water barrier coating on the basement walls and floor. Well this has been...
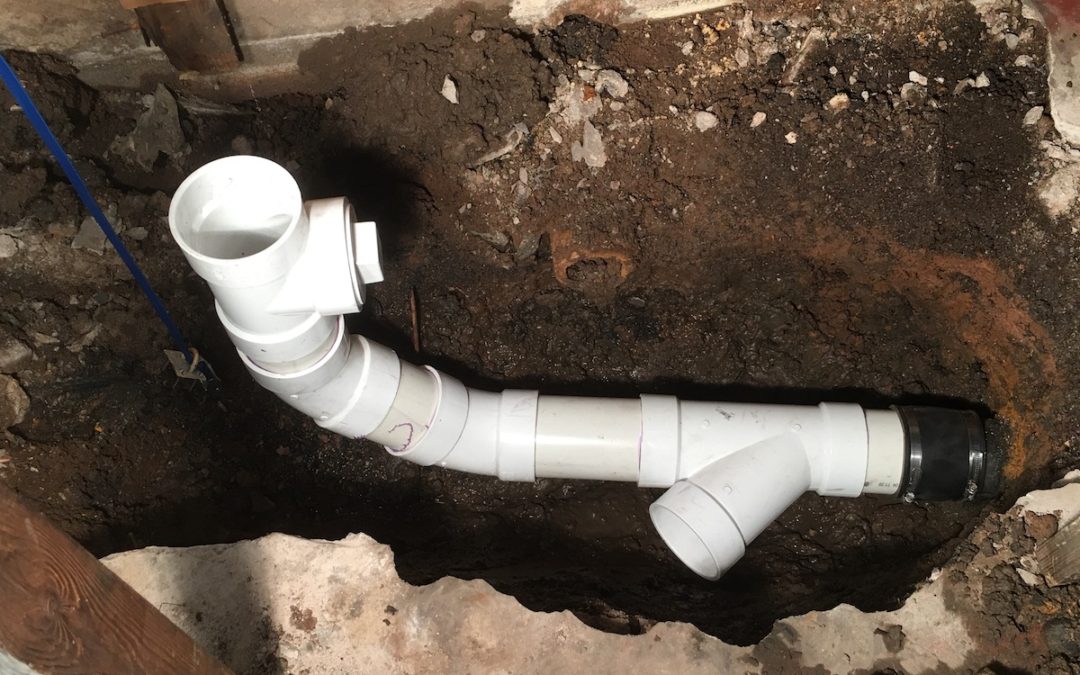
Plumbing A New Half Bath
When a fix leads to an improvementI’m excited to move forward and move to the basement floor issues but there is one thing that needs to be addressed first. Over by the main waste stack is a cast iron pipe that comes out but it is half above and half below the cement...
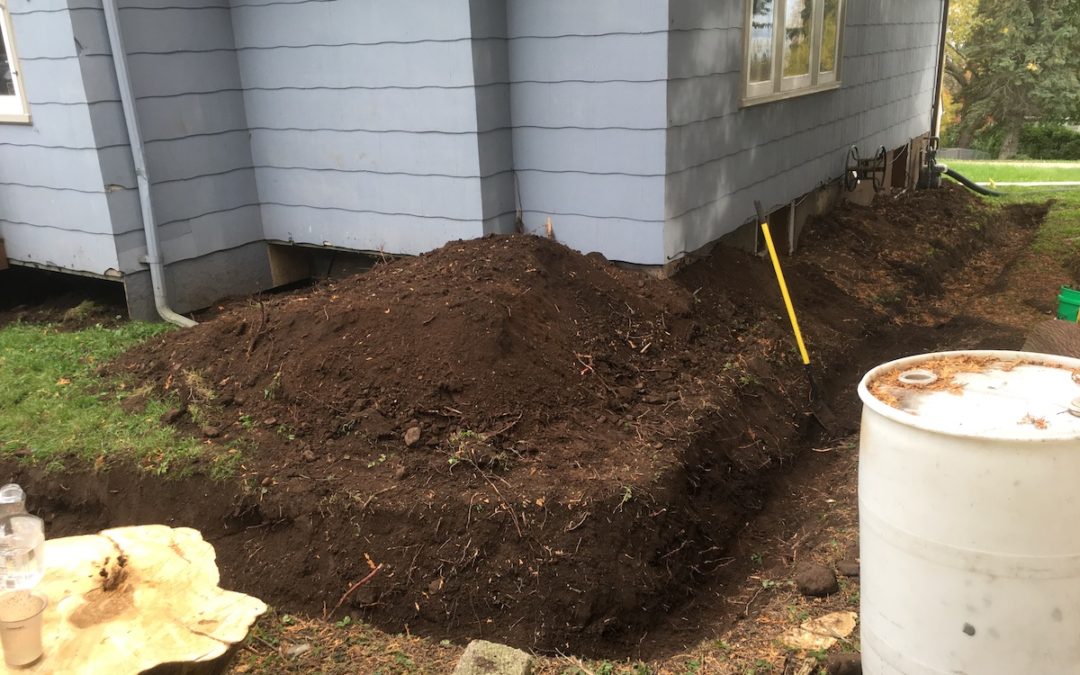
French Drain
Foresight is an important part of any construction endeavor. Simply put, don’t fix a surface if you need to address something underneath it first. This is a great example of that.

