So we wanted to patch some cracks in the basement foundation, but every builder or plumber will tell you to address the whole issue. For that, that meant looking at my grade, the neighbors yards and the neighbor run off directions. now this told the whole story. Having a home build near the top of a hill and in rocky foundation is great, but it’s amazing what 100 years of something very small will do.
Living on Skyline has it perks but one downfall is that everything from your neighbors yard and roof will flow towards your house before the street. I looked up a few ways to address this but there was only one that wasn’t ridiculous like digging 10ft down my outside foundation and putting in a new weeping system. No, I decided to do a French Drain. This is a 2ft x 2ft trench shaped like a bowl with a perforated pipe running through it to catch run off in the water table and direct it out where you want. There are several variations and materials you can use but I’ll let you look those up if you are starting something like this and find what fits your budget. As for me? I’m a cheap ass and totally OK with my own labor.
Issue:
1. direct all water from the water table on the upper hill side of the house out toward the street
2. improve the grade around the house where needed
1st step, I marked out the “L” shape trench along the South and West or side and back of the house. We made this about 3ft from the side of the house and about 7ft out from the back (because of the porch and tree stump). Then we just got started digging. You may laugh and say why wouldn’t you just rent a trencher. Answer; I’m cheap, good workout excuse, there was a rediculous amount of bolders, rocks and roots that would have messed up a rental and I would have had to do many passes with a 6″ wide trencher. I was also impatient and didn’t want to wait a day or two for when I could rent a machine and just wanted to get it started.
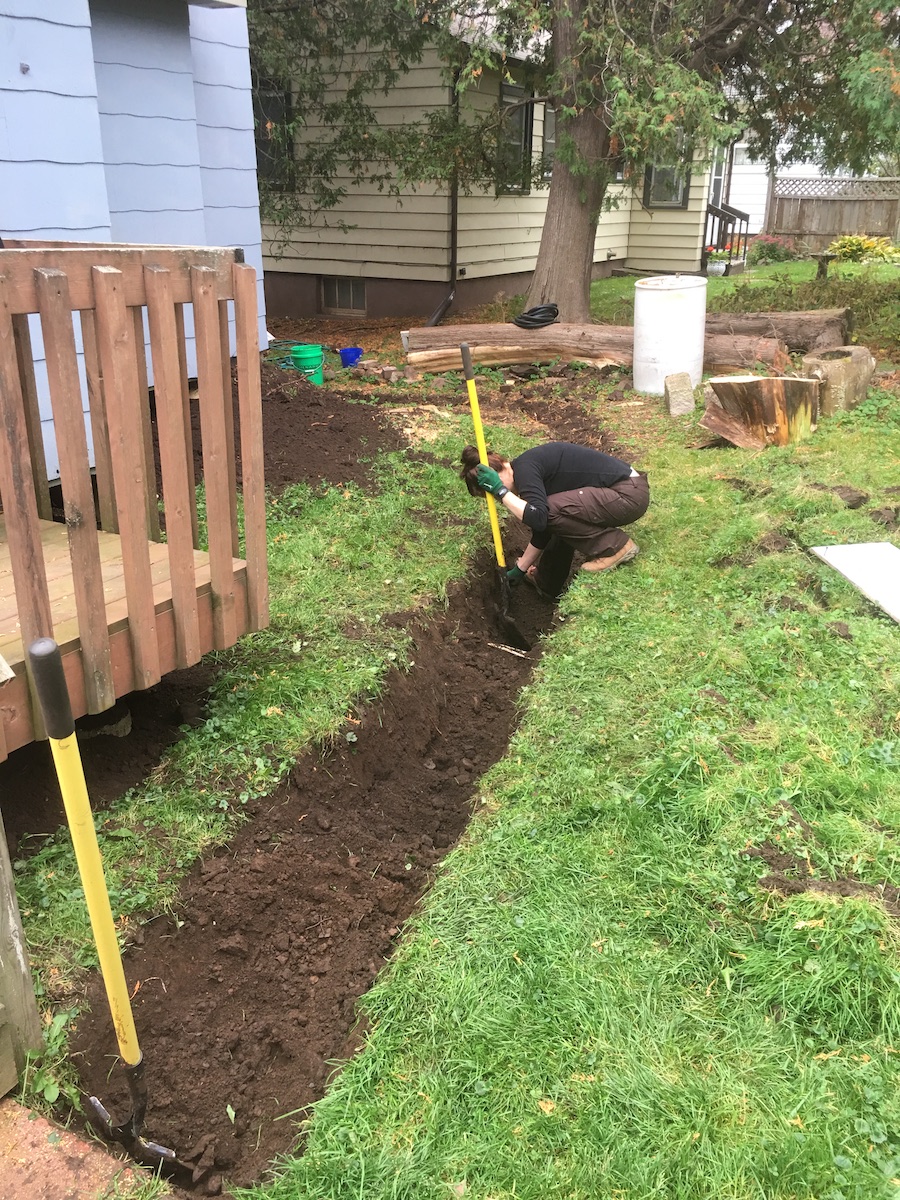
The digging started slowly but this was mainly because of the amount of rocks that were in the soil and root systems from the line of Cedar trees. To add to our surprise, we came across a 1ft x 3ft patch of old rusted nails. All sorts of size, width and styles. Turned out to be enough fill a 5g bucket. Who would leave a pile like that next to the house or on the ground……
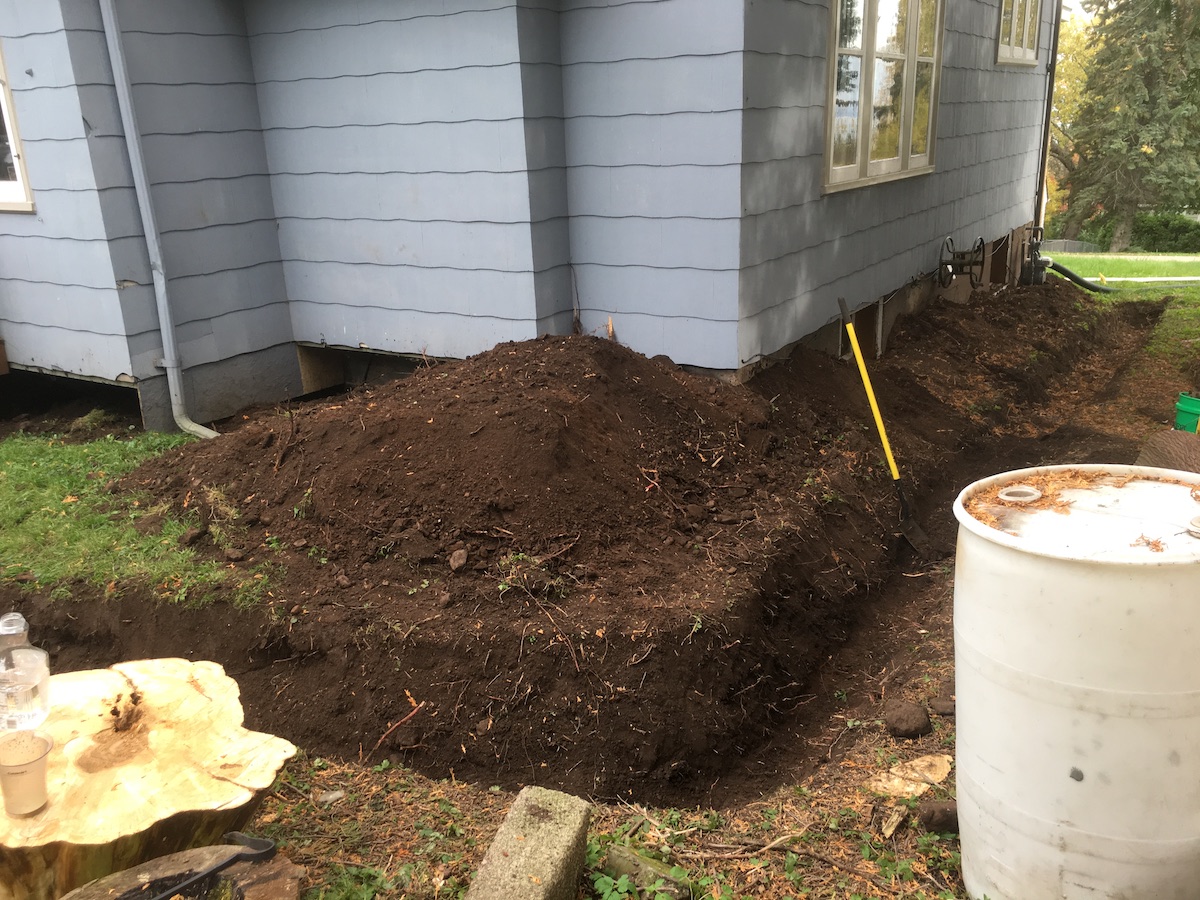
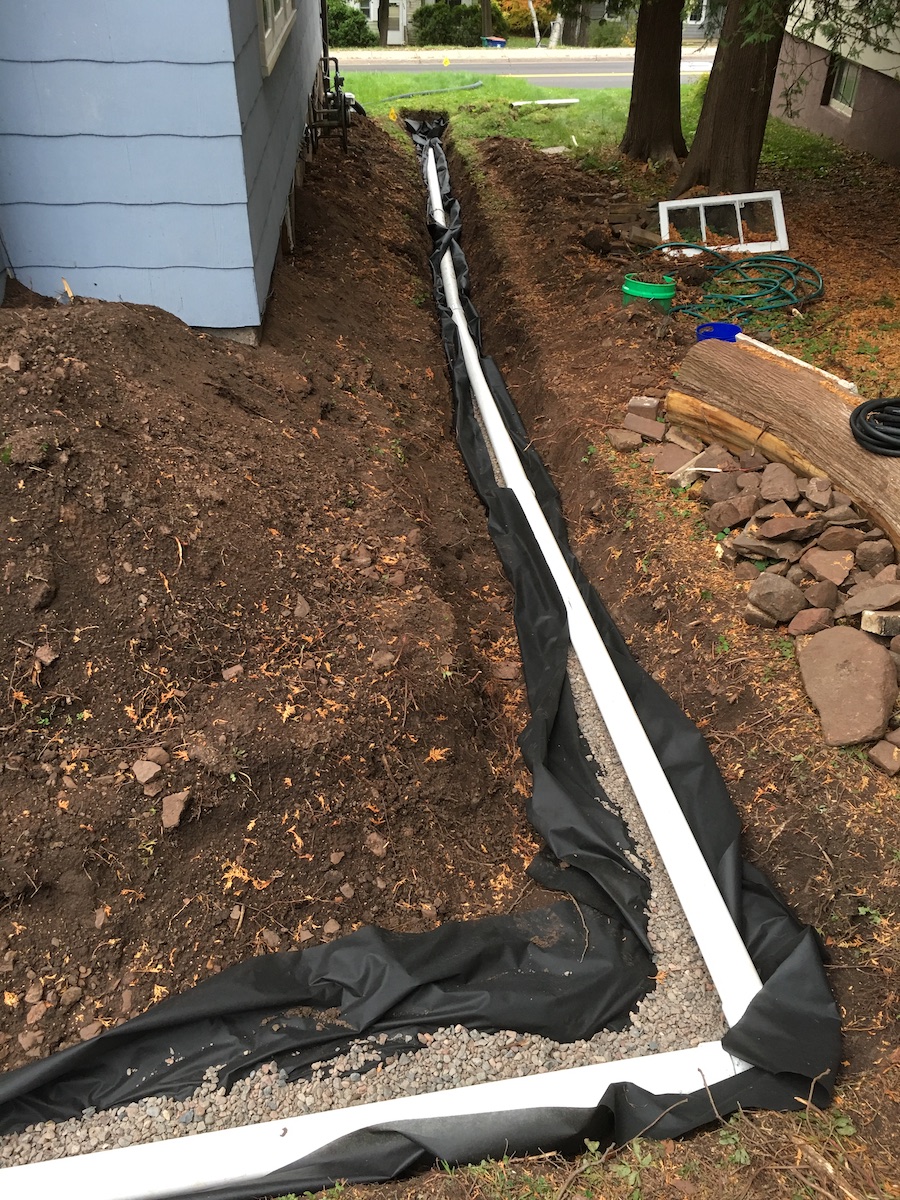
Now that the trench was dug, I focused on getting the piping, lining and crushed gravel. I ended up grabbing 70ft of PVC pipe with couplings and 90 degree bend. After mocking it up in the trench we found that the trench lines needed to be refined so we dug more to fix this. While grabbing the PVC I also got 2 rolls of landscaping fabric to act as lining to contain the gravel and pipe. Actually the purpose is more for stopping dirt from getting through the rocks and into the pipe where it could cause a clog.
For the Crushed gravel I just went to a local guy who sold 1/4inch crushed gravel for $38/cu.yd. I felt like it was a great deal, especially since he didn’t charge a loading fee and let me do this in separate trips if needed (I didn’t know if my trailer could hold 1 ton of gravel). All-in-all I ended up using 2 cu.yd of crushed gravel for this trench.
First we ran the lining through the trench and put a layer of gravel in the trench first so we could better control the gradient. Then we drilled holes along the bottom of the pipes so water can seep in. Then we laid the pipe and connected all fittings. Side note, we didn’t cement the connections as it was just a weeping system and not critical plumbing. PVC couplings are plenty tight for our application. Lastly, we filled the area around the PVC with remaining gravel so there was 2 inches of gravel all the way around the pipe. Then we wrapped the lining around to overlap and put some dirt on top.

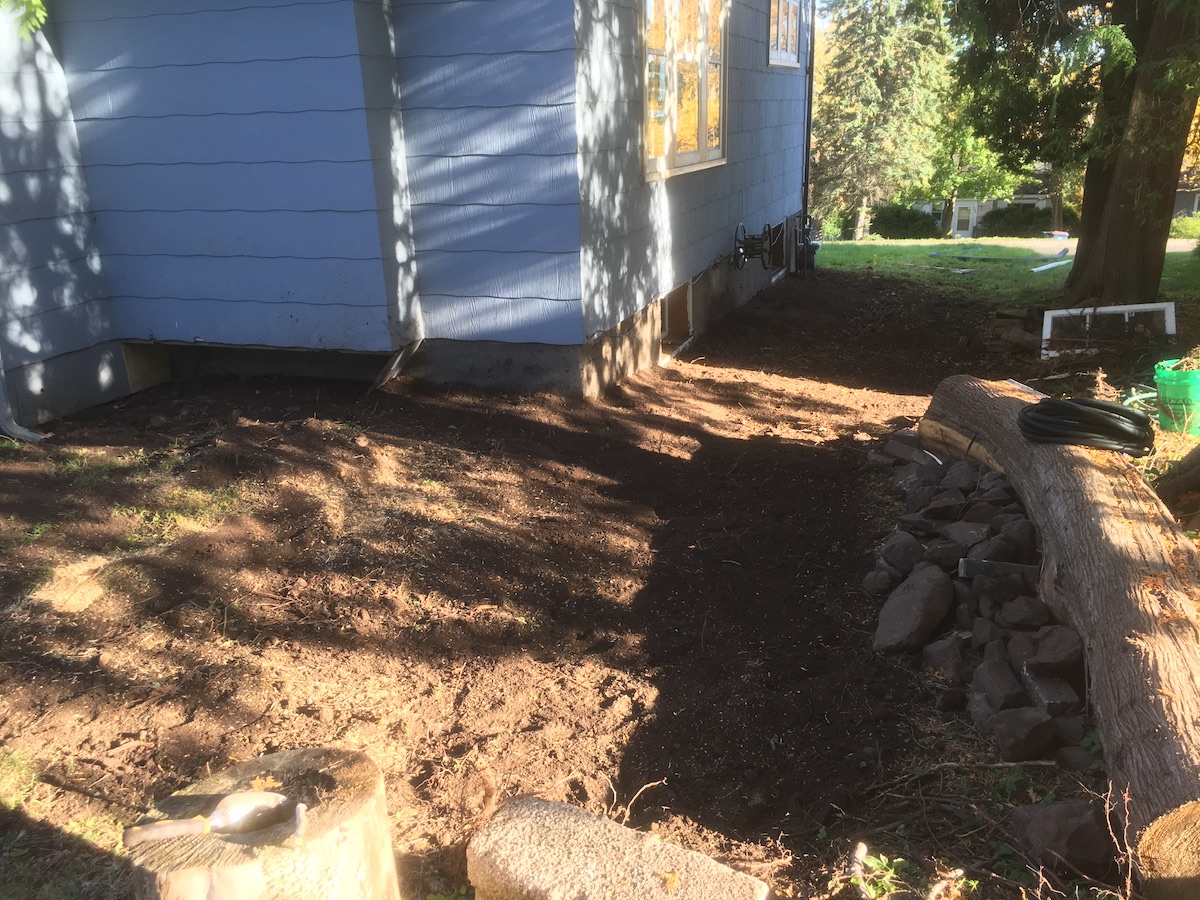
Now began the fill in. Back filling the hole went much easier and also allowed us to address the gradient off the side of the house. Everything looked much better and I was way more confident in the water management and therefor any fixes or changes we make in the basement.

Now to get back on track in the basement. Find out how we decided to fix the cracks in the foundation.
Product Links:
- Pipe Bundle: https://amzn.to/2JdV60A
- Sewer PVC: https://amzn.to/2PNWYhL
- Landscaping Fabric: https://amzn.to/2JfpUOB
Source Links:
Disclaimer:
I am not a professional so replicate my methods at your own risk. Always consult you local code for county and state regulations. And always call a professional for anything you are uncomfortable with, it is safer and can actually save you money in some cases.
Disclosure: Some of the links in this article are affiliate links and we will earn a small commission through their use at absolutely no extra cost to you!
Thank You!
Related Posts:
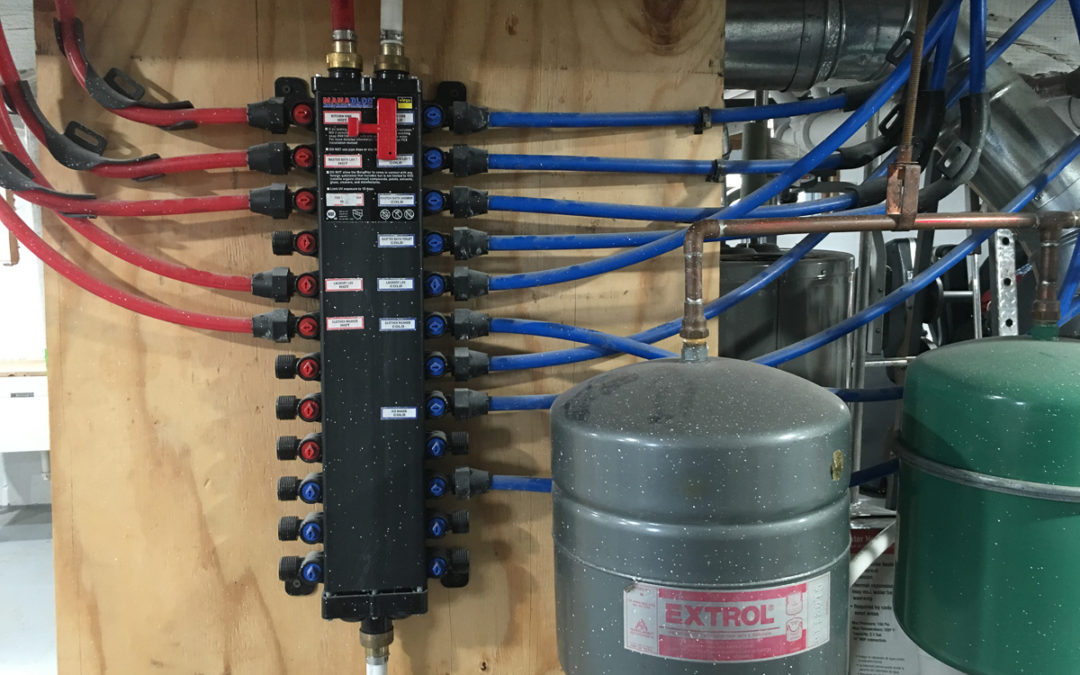
Upgrade Water Lines
Can you feel the pressure.Recap & ReassessmentIf you have been following this Renovation thread you may be laughing at the deviations I’ve been making from the initial goal of getting a new water barrier coating on the basement walls and floor. Well this has been...
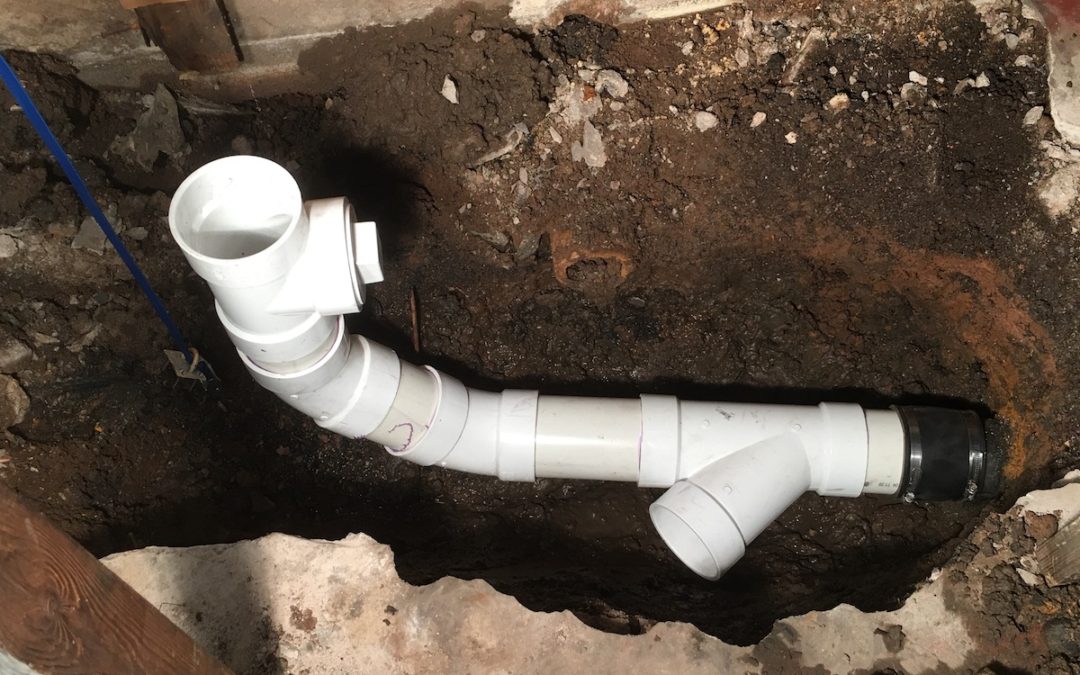
Plumbing A New Half Bath
When a fix leads to an improvementI’m excited to move forward and move to the basement floor issues but there is one thing that needs to be addressed first. Over by the main waste stack is a cast iron pipe that comes out but it is half above and half below the cement...
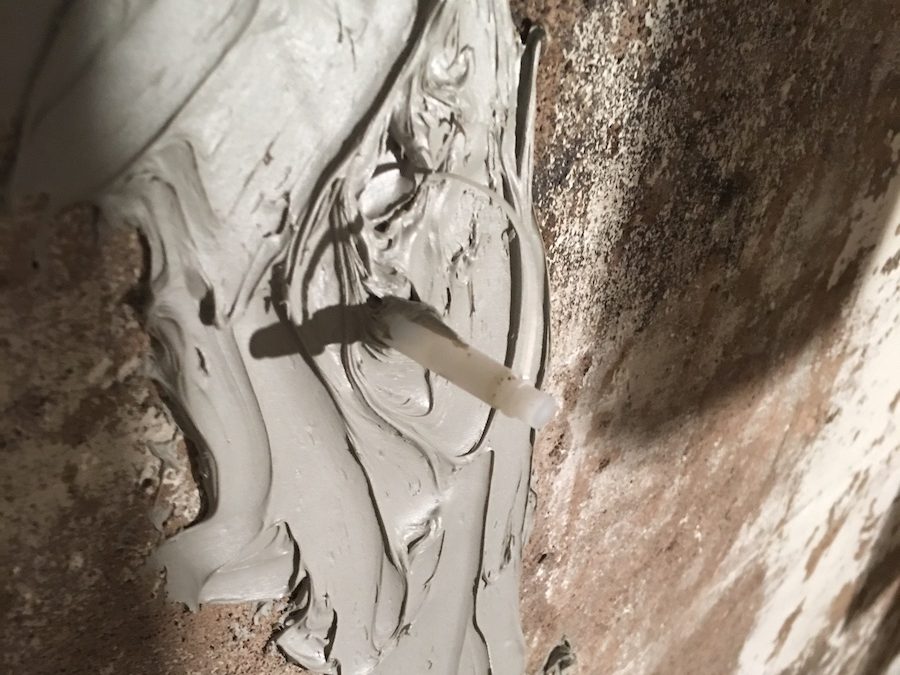
Repairing Foundation Wall Cracks
A new way to fix fracturesNow that the water and foundation gradient issue was fixed outside I could now feel confident repairing the foundation cracks. the last thing I wanted was to waste supplies and work because moisture or water inhibited a good bond on the...


