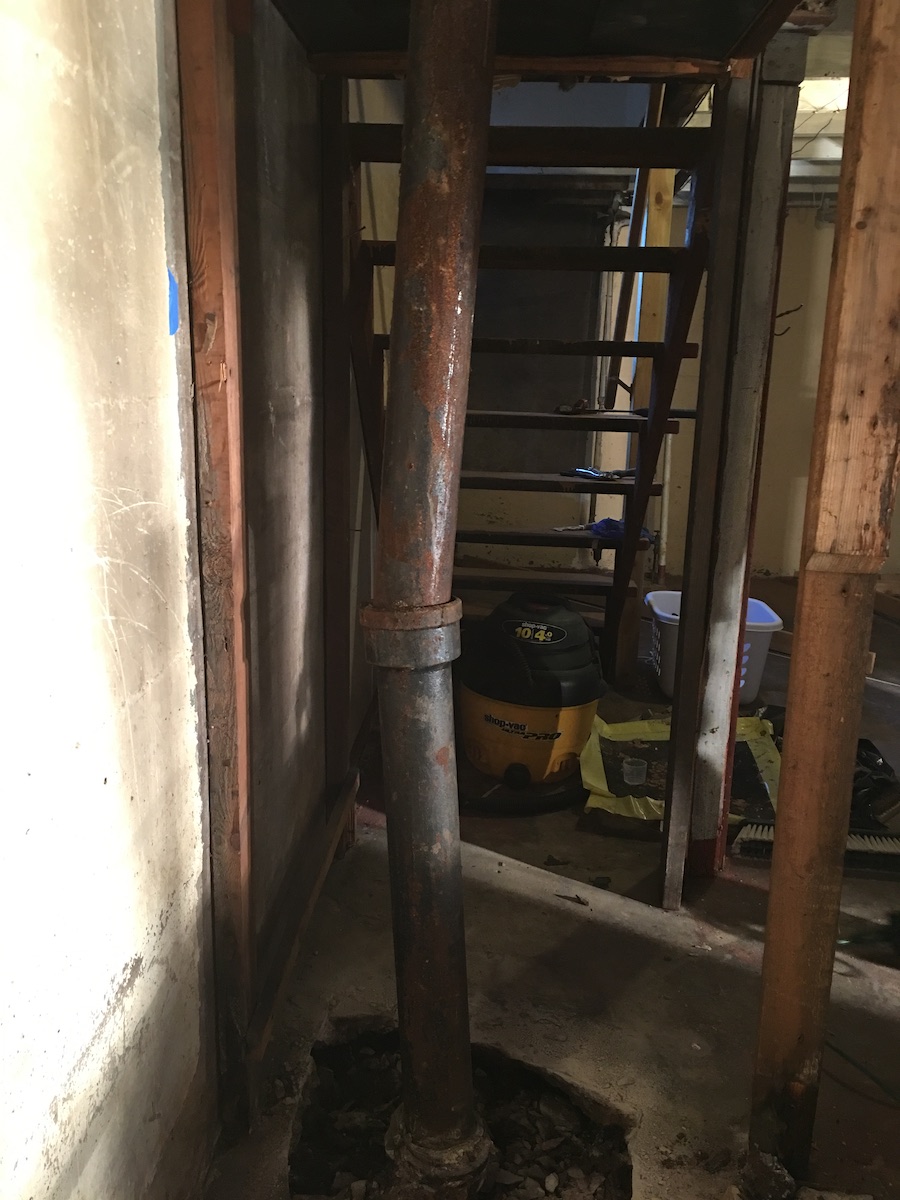


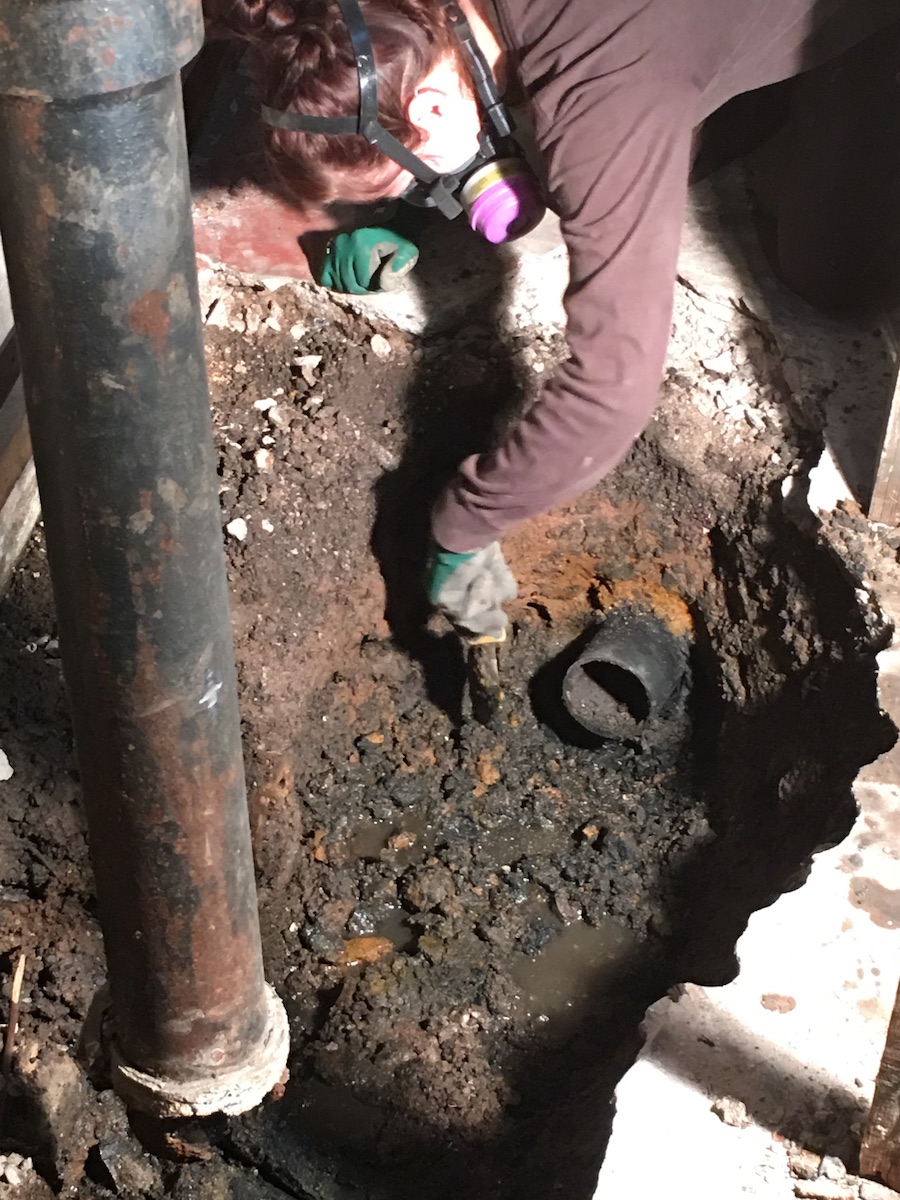
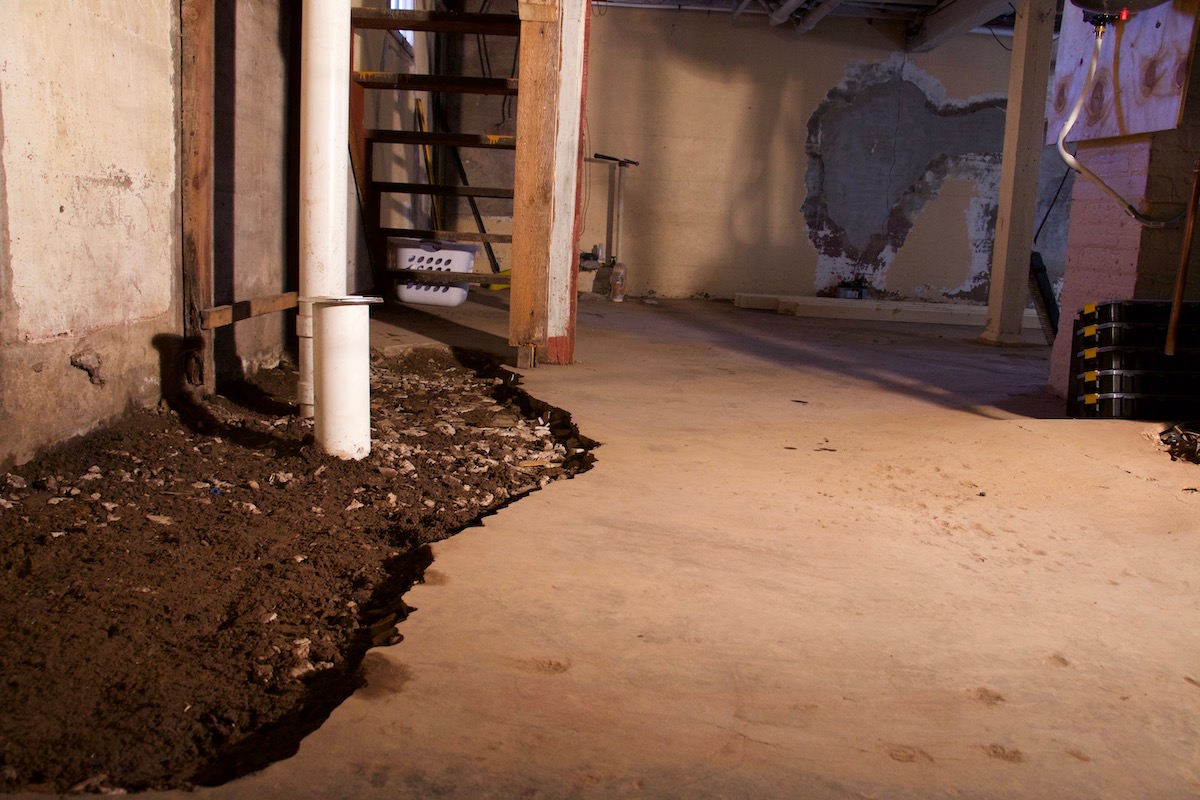
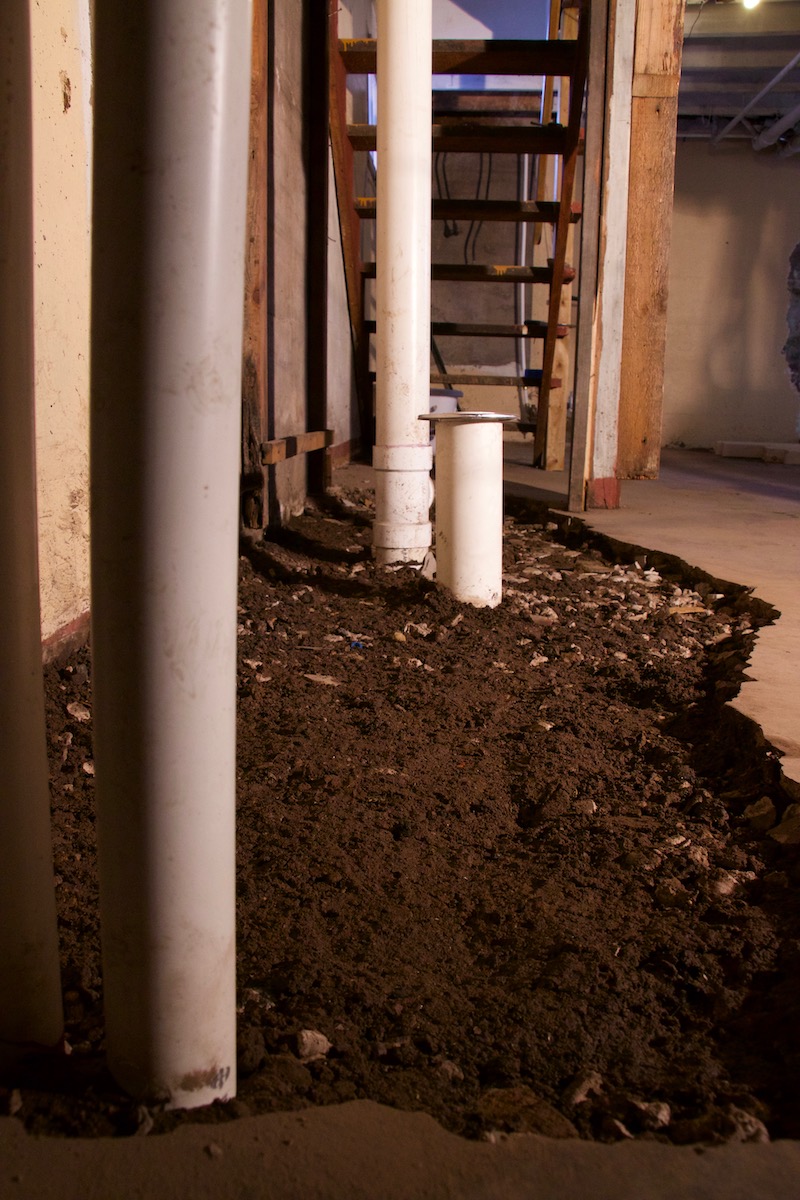
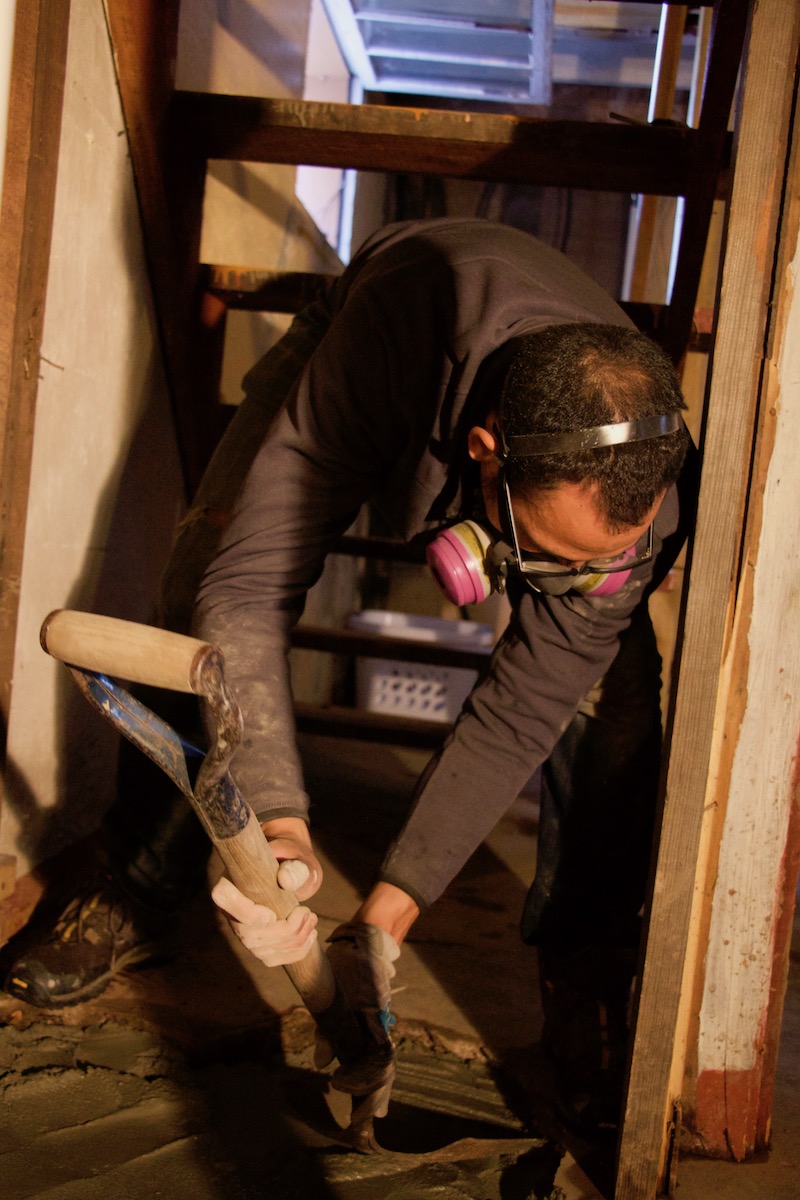
Foundation eroded
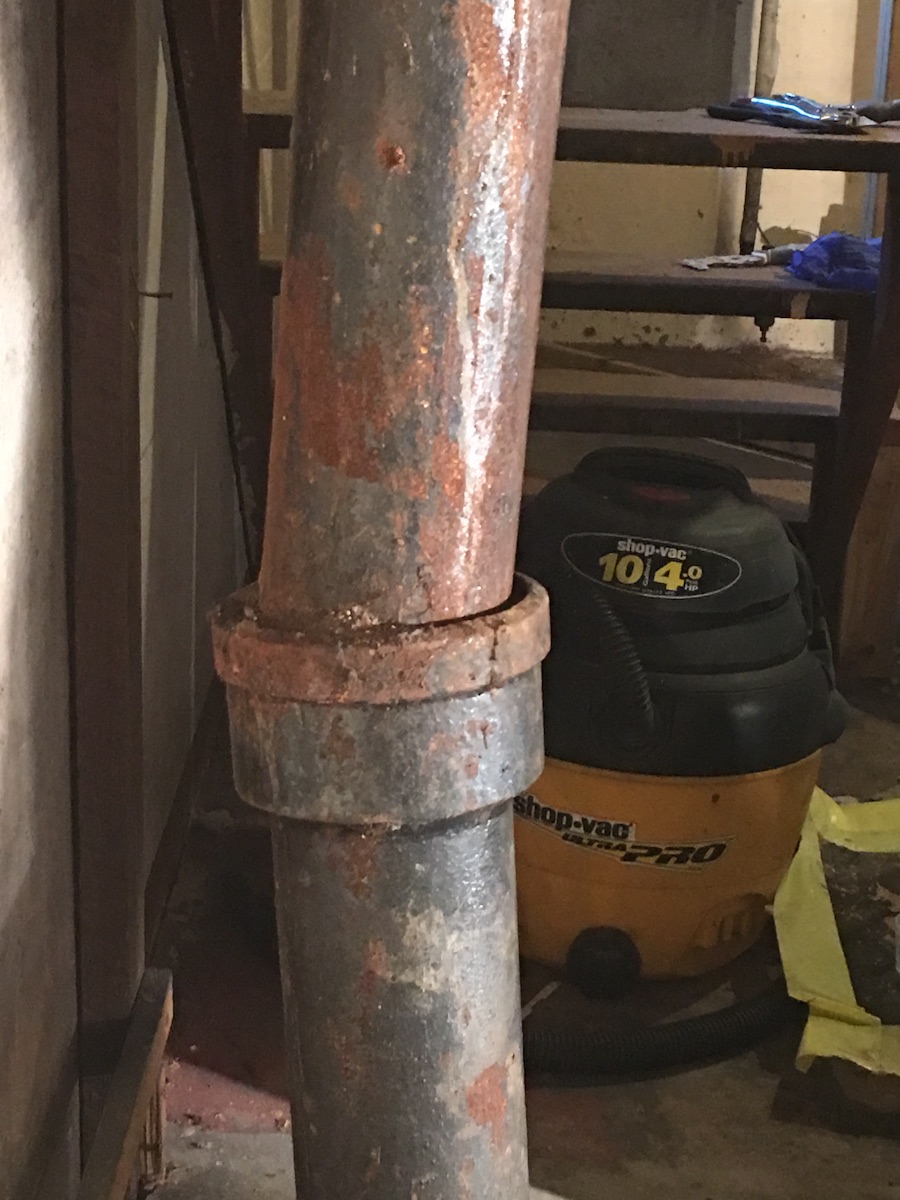
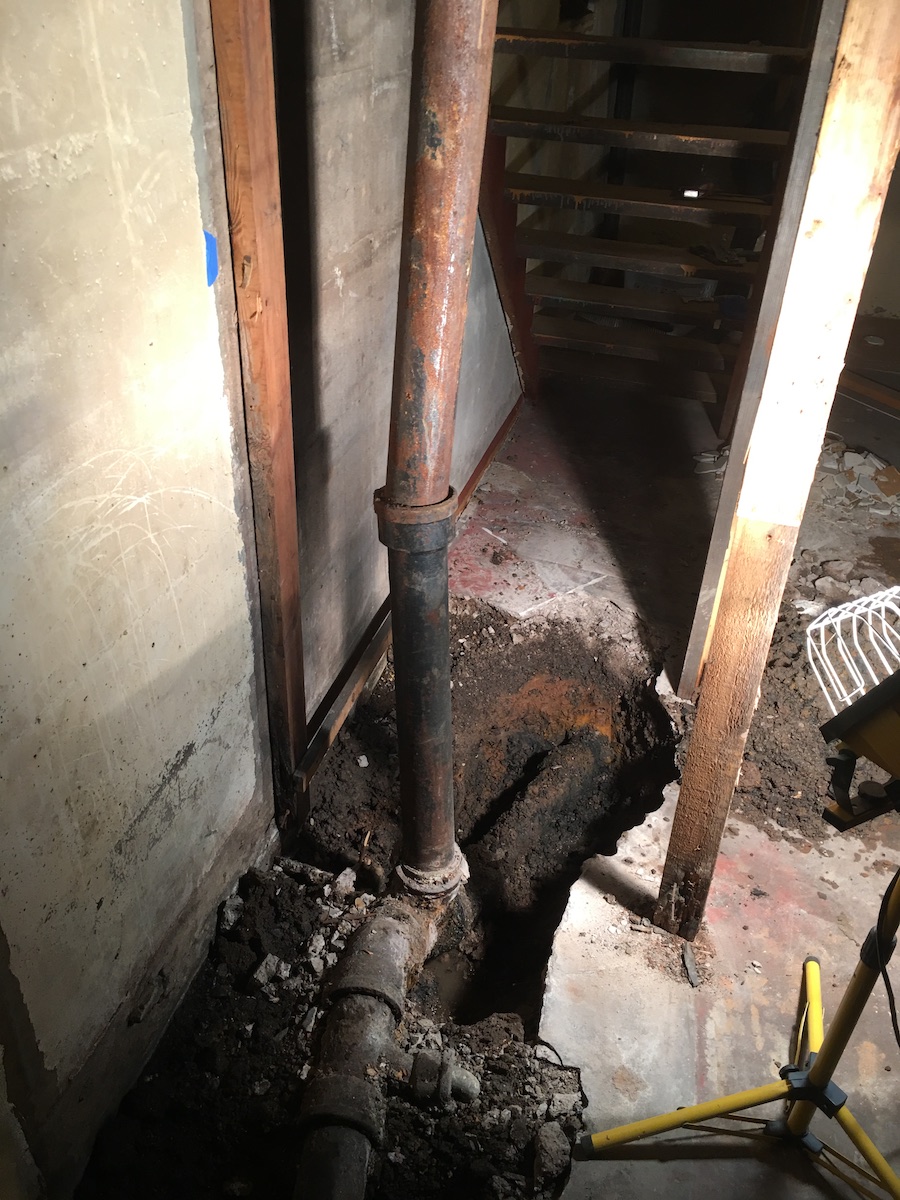
Solution mode


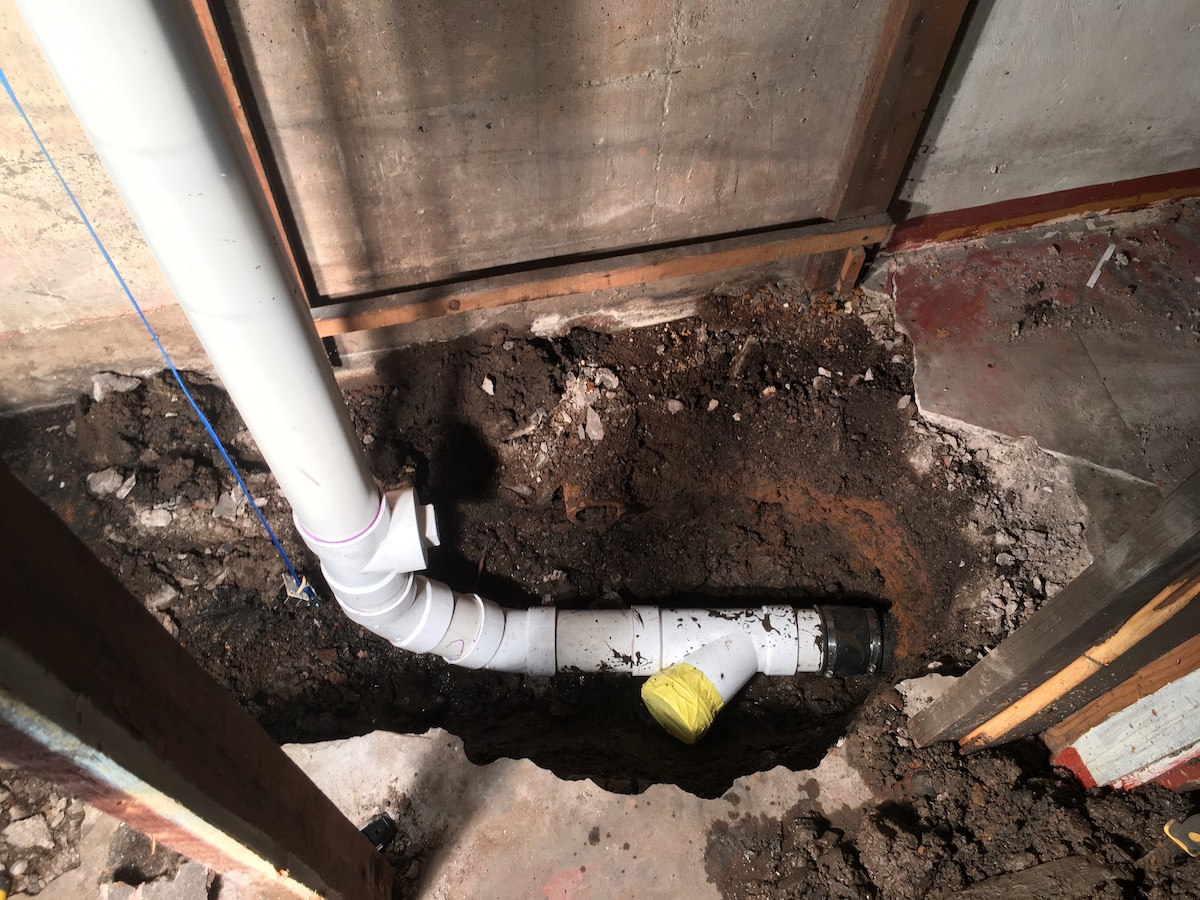
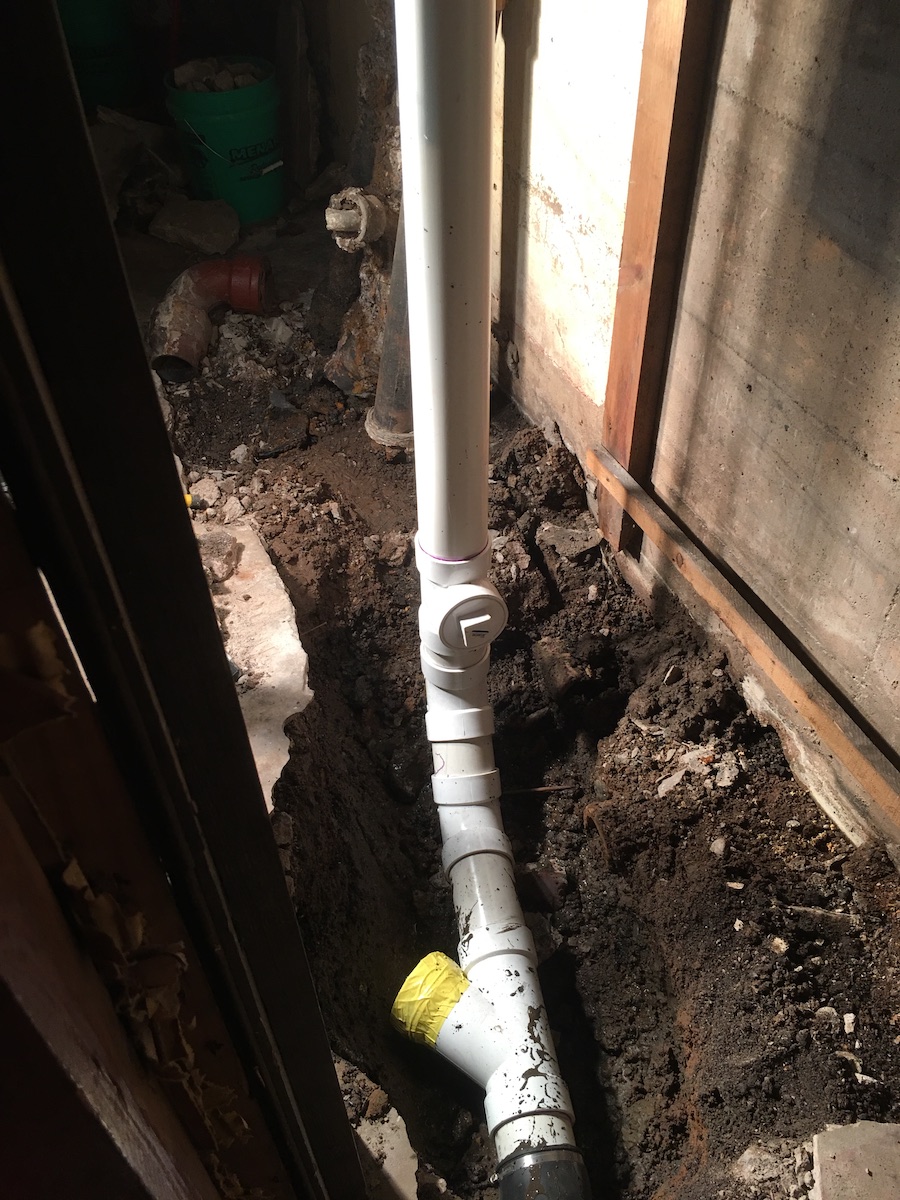
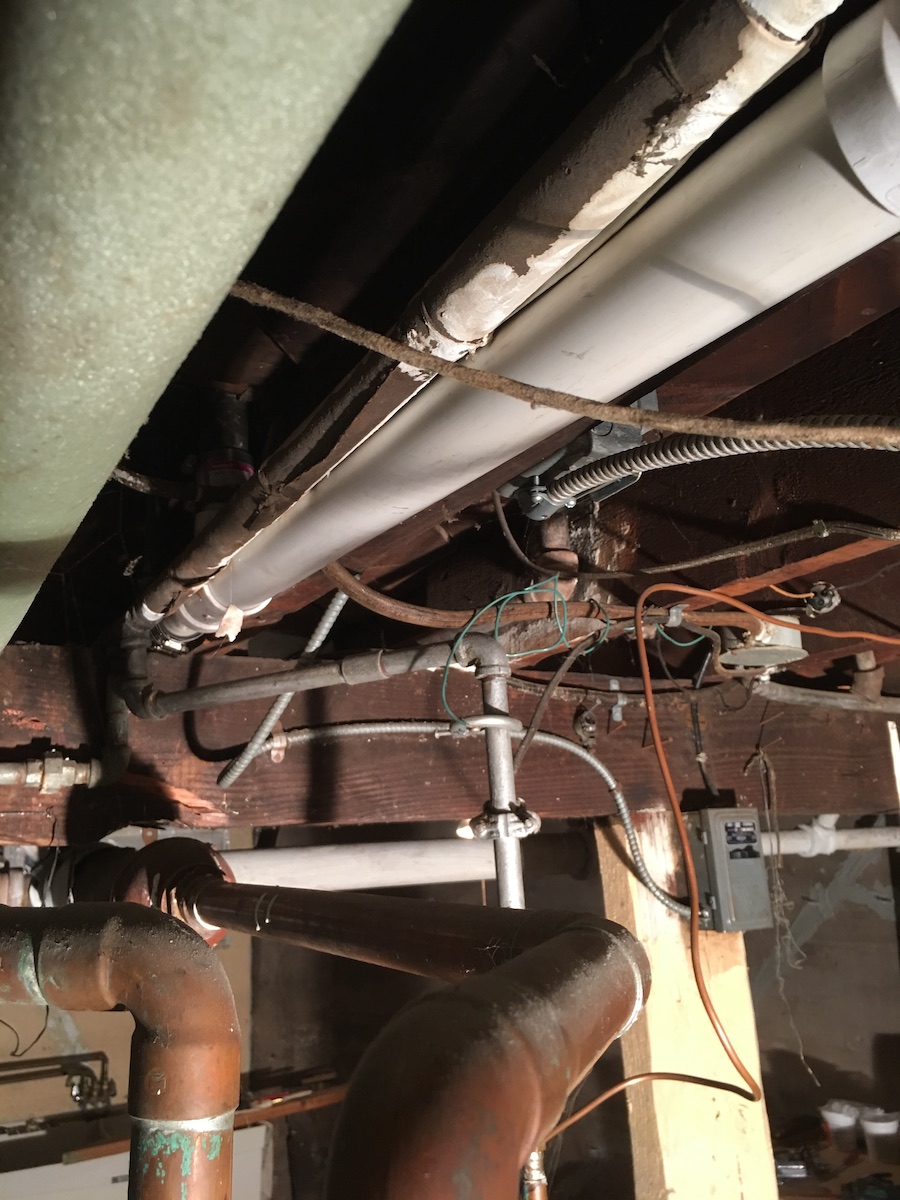
Plumbing materials:
10′ of 4′′ Schedule 40 PVC pipe 2 x 45 degree PVC bend couplings 4′′ Wye PVC coupling 4′′ Clean – Out coupling 1 Falco Rubber coupling for Cast Iron to PVC 1 Falco Rubber Coupling with Stainless Steel cover Sheet for Cast Iron to PVC PVC Glue and Primer
Materials:

Product Links:
Source Links:
Project Cost: $
Disclaimer:
I am not a professional so replicate my methods at your own risk. Always consult your local code for county and state regulations. And always call a professional for anything you are uncomfortable with, it is safer and can actually save you money in some cases.
Disclosure: Some of the links in this article are affiliate links and we will earn a small commission through their use at absolutely no extra cost to you!
Thank You!
Related Posts:
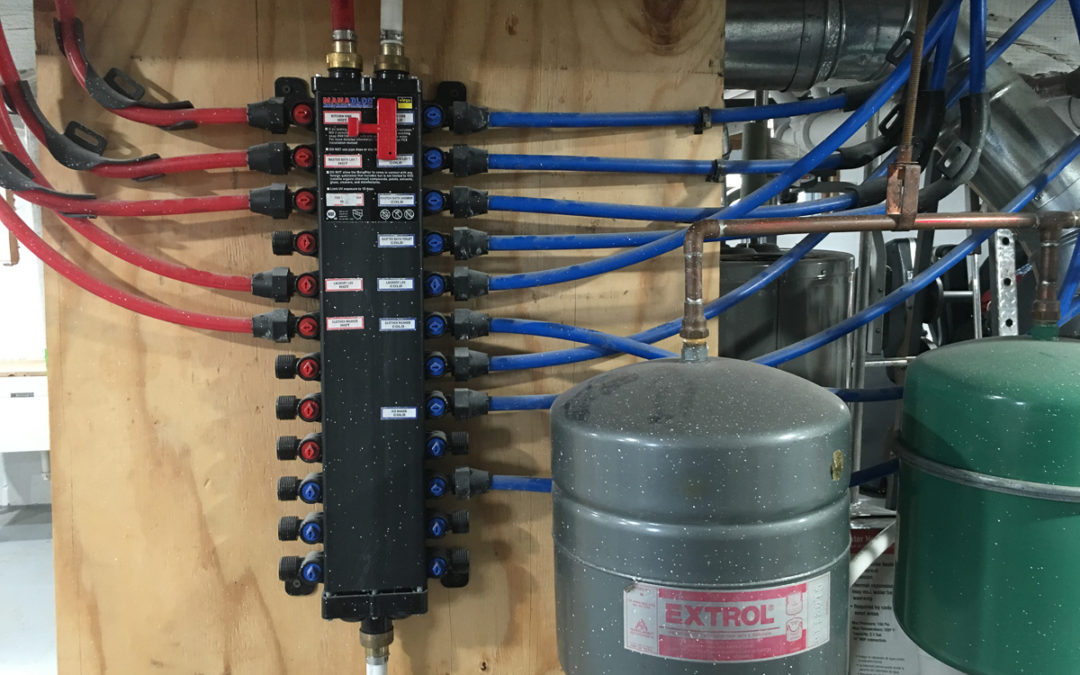
Upgrade Water Lines
Can you feel the pressure.Recap & ReassessmentIf you have been following this Renovation thread you may be laughing at the deviations I’ve been making from the initial goal of getting a new water barrier coating on the basement walls and floor. Well this has been...
Repairing Foundation Wall Cracks
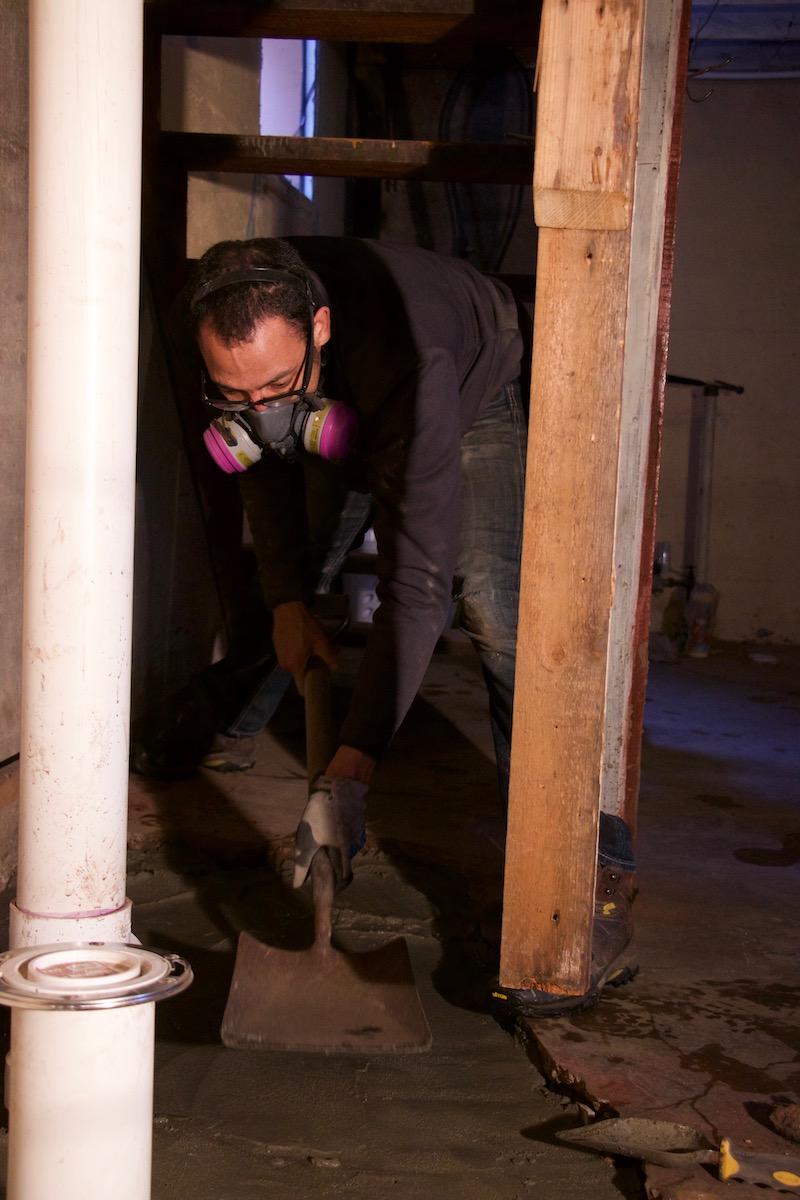
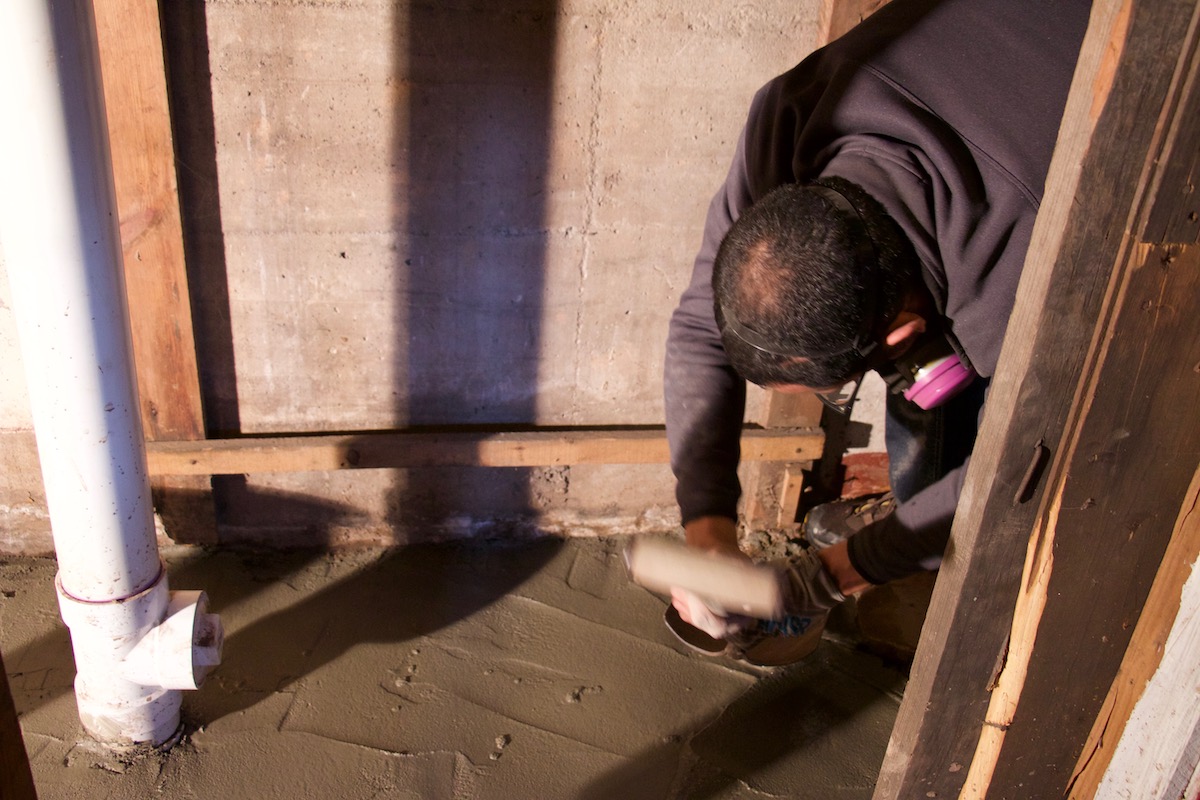
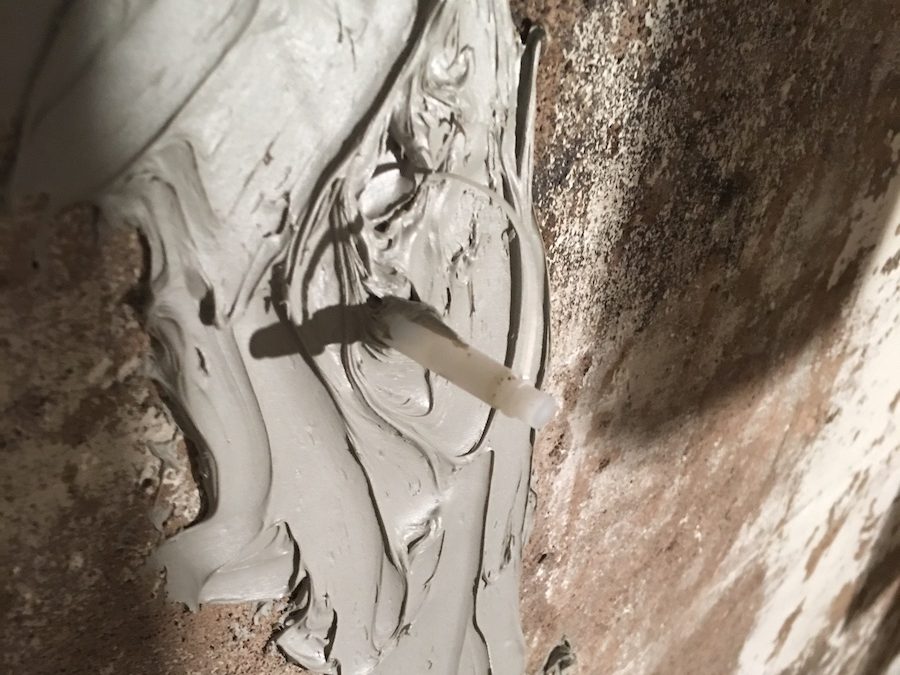
A new way to fix fracturesNow that the water and foundation gradient issue was fixed outside I could now feel confident repairing the foundation cracks. the last thing I wanted was to waste supplies and work because moisture or water inhibited a good bond on the...
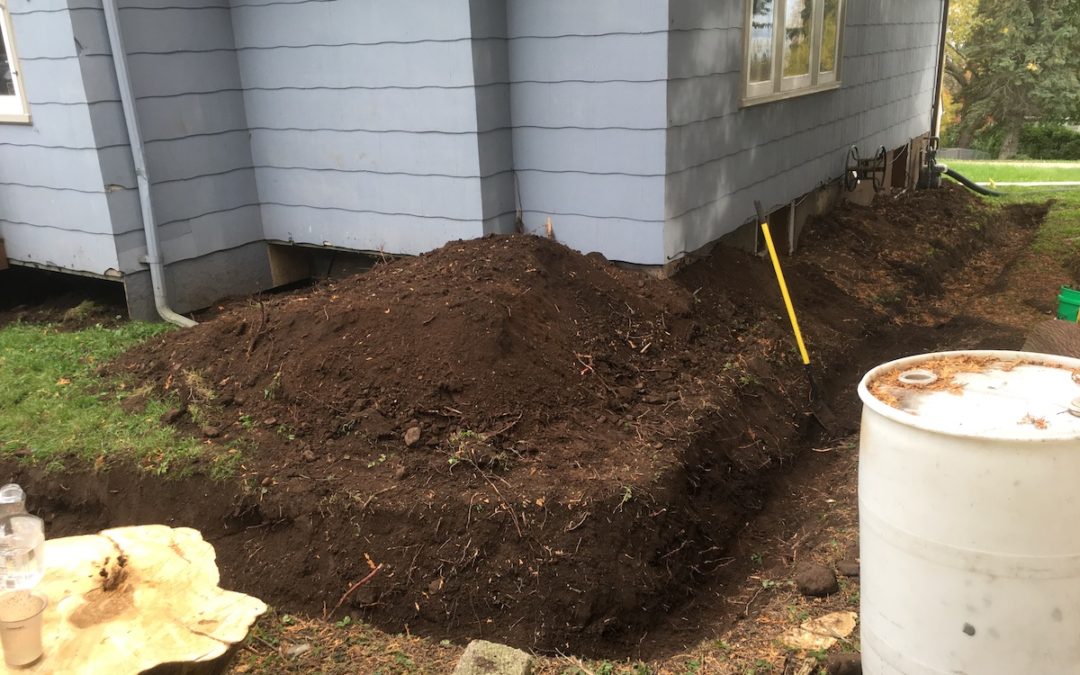
French Drain
Foresight is an important part of any construction endeavor. Simply put, don’t fix a surface if you need to address something underneath it first. This is a great example of that.